Determine where and how your components should be placed on the PCB board. You can find this information from the schematics for what you're building.
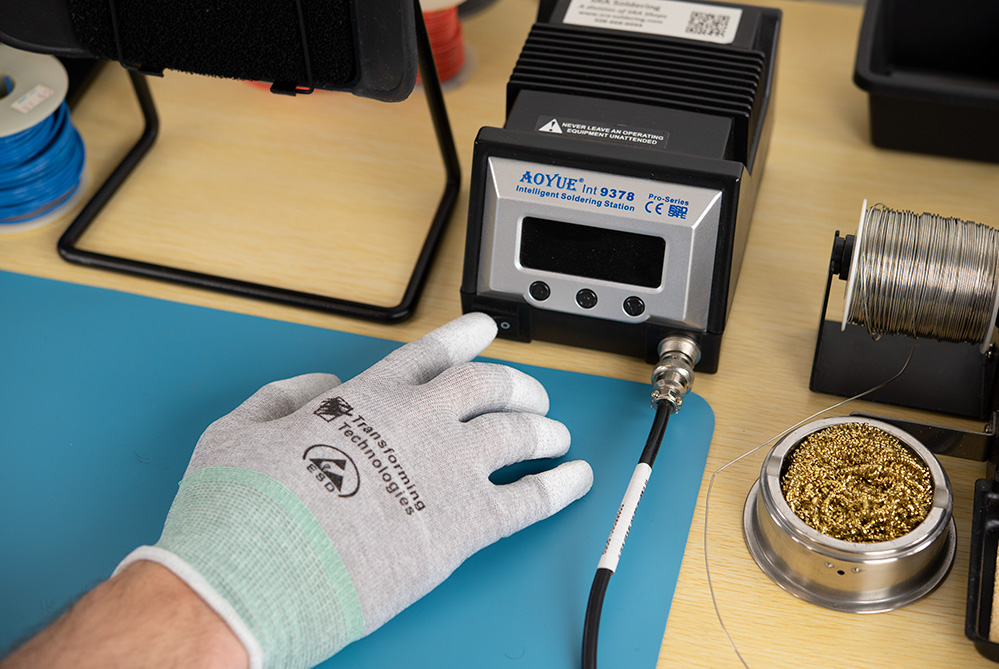
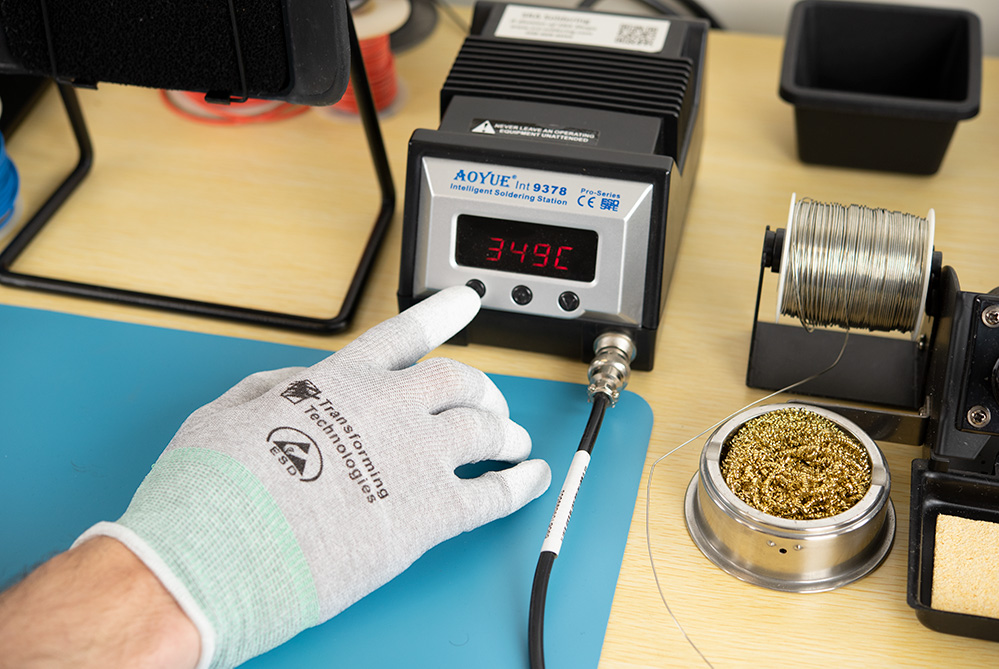
Turn on the soldering iron and set it to 350°C.
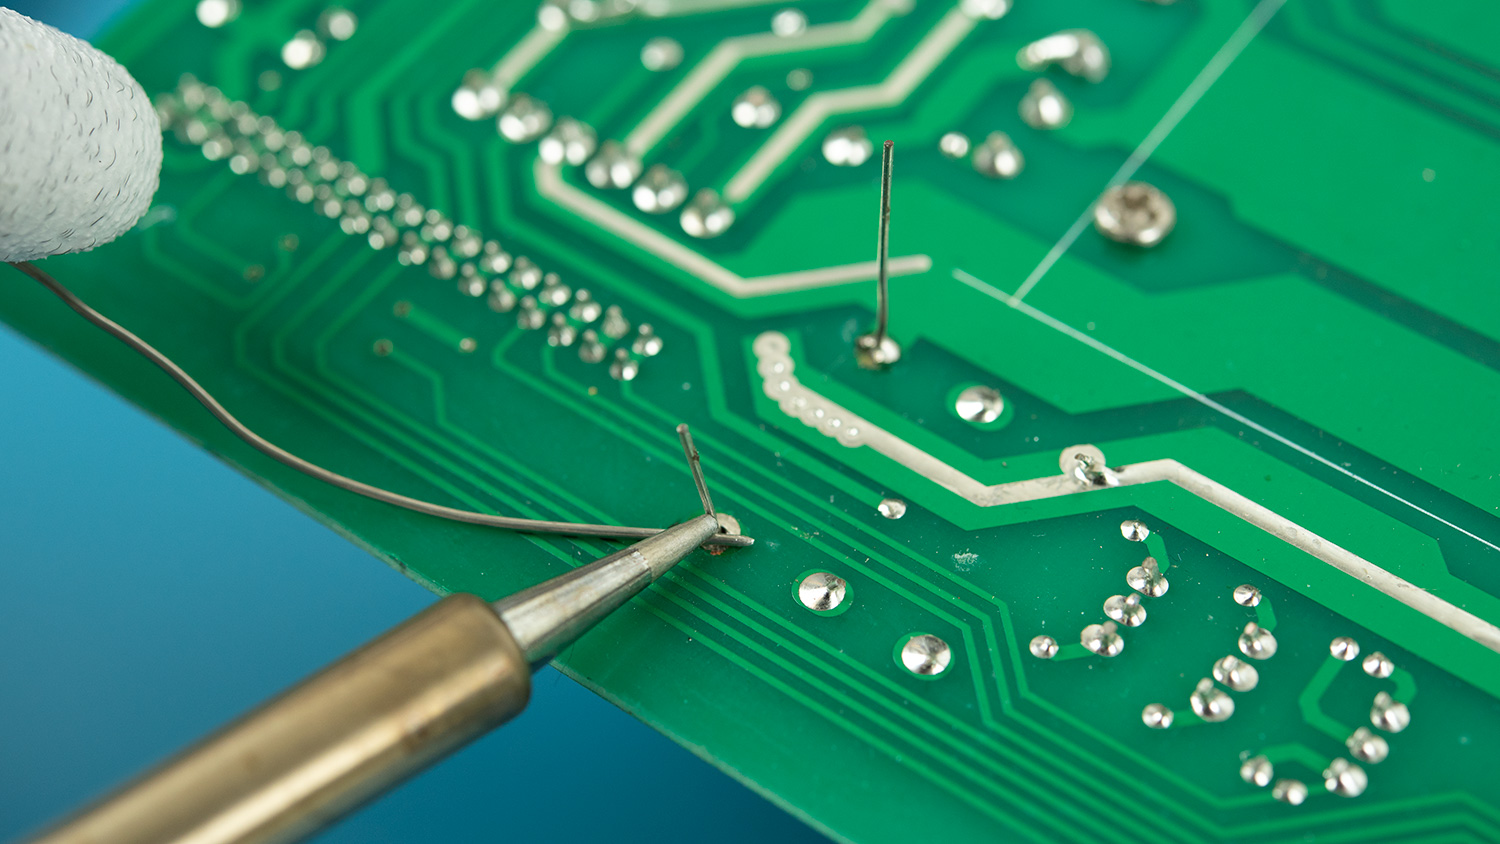
Place one of the components in the PCB board. If the component has more than two "legs" fold the opposing "legs" to keep the component from falling out when you flip the board to solder it. If it only has the two, fold both of them in opposite directions.
Solder the two legs in place. This is important to be sure the component does not move if there are other legs to solder.
If there are more "legs" to solder now is the time to do so.
Almost there, now you want to remove the excess "legs" with a cutter like the
Xuron 170-II.
That's it! It can be that simple if you let it.
Assemble your work area with a heat resistant mat and fume extractor if you have them.
Gather your parts for the job and some bins to store them in.
Always tin your tip before and after soldering. If the tip remains dry without solder you will greatly reduce the life of the tip.
Single Sided PCB = Shorter Dwell Time
Double Sided PCB = Longer Dwell Time
For heat sensitive components like LEDs and diodes you'll want to add a heat sink to absorb some of the extra heat
Turn on your soldering iron and set it to the correct temperature for the job. You will hardly ever achieve the perfect temperature during soldering but you want to get as close as possible. Around 350 C 662 F on the lower side and 400 C 752 F on the higher side. For circuit boards and heat sensitive components like LEDs, diodes or anything with a moving part you’ll want to use a lower temperature.
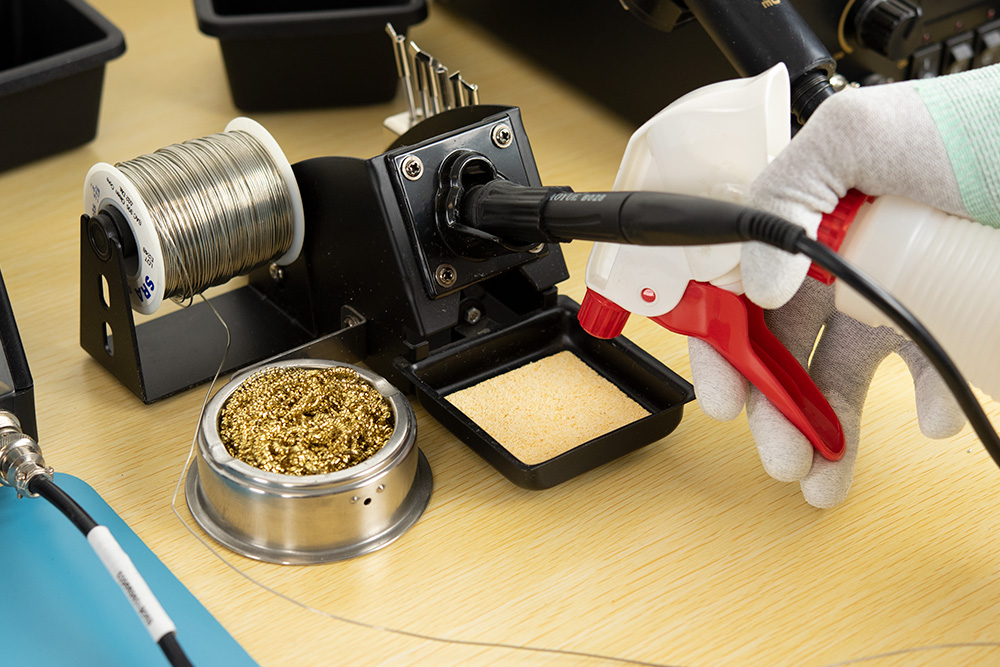
Take a spray bottle filled with water and wet the sponge. If the iron makes a psssh noise when you drag it across the sponge then you’ve got enough water. If not, you will need to add more. Push down on the center of the sponge with your finger, if you get a pool of water it is too damp. Now to clean the iron you want to drag it across the sponge in two passes to clean both sides of the tip. The pssh pssh lets you know that the iron is clean.
You can also use brass coils to clean your tip. The brass coils are a softer metal than the tip which allows you to clean the tip safely. The advantage here is that it doesn’t shock your iron with water. In either case though once they get dirty enough and the flux is highly concentrated on the sponge or in the coils they will begin to loose effectiveness and you’ll just be pushing around the acid instead of cleaning it. At this point the coils would need to be replaced and the sponge could either be replaced or laundered. I recommend use the coils to get the bulk material off followed by the sponge to clean it entirely. This way most of the crap is scrapped off and into the coils instead of dirtying your sponge quickly with globs of solder and flux.
Remember: If your tip is smoking, it needs to be cleaned.
When your iron is up to temperature, try melting some solder on the tip and then wipe it off with your sponge or brass coils. If the solder doesn’t seem to stick to the iron keep repeating this process until you get it to come back to life. If you cannot get the tip to accept solder there is a problem and you may need to resort to more advanced cleaners or a new tip altogether.
The flux in the solder wire is what causes your iron to smoke and is therefore responsible for any fumes created in the soldering process. If the flux becomes concentrated on your iron it will continue smoking and oxidize rapidly. This is why keeping the tip clean is so important.
If you don’t clean the tip you will just end up with a dirty tip and the heat won’t flow from a dirty tip.
Never use anything abrasive like a brillo pad or sandpaper to clean your iron tip because it will destroy the tip over time by tearing off the plated surface that’s there. In much the same way that the acid in the flux would if you were to let it sit on the iron and get stronger and stronger from not cleaning it.
When you’re using abrasive methods to clean your tip, you’re removing the material that allows the solder to stick. Once you get through that plating, you’ll have a hole in your tip.
Also, using the iron in an abrasive manner by applying mechanical force and pressure while soldering will ruin the tip. When you solder you shouldn’t have to apply any additional pressure to the joint.
Whether this is your first time using the iron or not you will want to tin your tip before soldering. When the tip is exposed to air and heat it oxidizes. This can occur over night so you need to tin it to bring it back to life.
Once your tip is cleaned and tinned you’re ready to start soldering! A lot of guides out there teach soldering in a way that is not conducive to managing heat transfer. They say that you should touch the soldering iron to the workpiece and component and hold it there for a few seconds. Then start adding solder to the opposite side, not touching the iron. When it melts you know the joint has got hot enough to make a proper connection. While this does create a successful joint, it takes too long and increases your chances of damaging the parts.
So at this point you’ve got your flux, solder, and iron and any other tools you might need on your work bench. Now look at your project and visualize the task you’re trying to accomplish consider the components analyzing the size and materials that make them up are they fragile or tough, plastic or metal big or small? Do they have moving parts or are they solid> These answers will help inform your approach because they all affect the heat cycle.