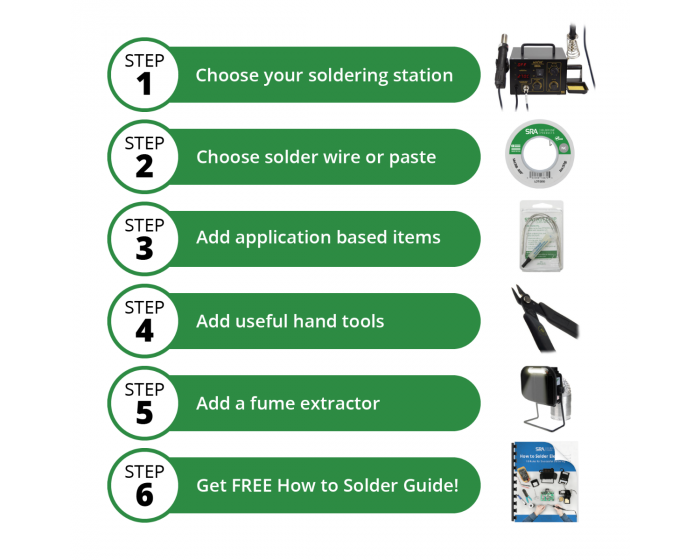
Thank you for your interest in our Build-Your-Own Hot Air Soldering kit! By default, you will see there are some basic options selected for general purpose soldering but today I’m going to take you through each of the 6 steps to customize the kit to your specific application or hobby.
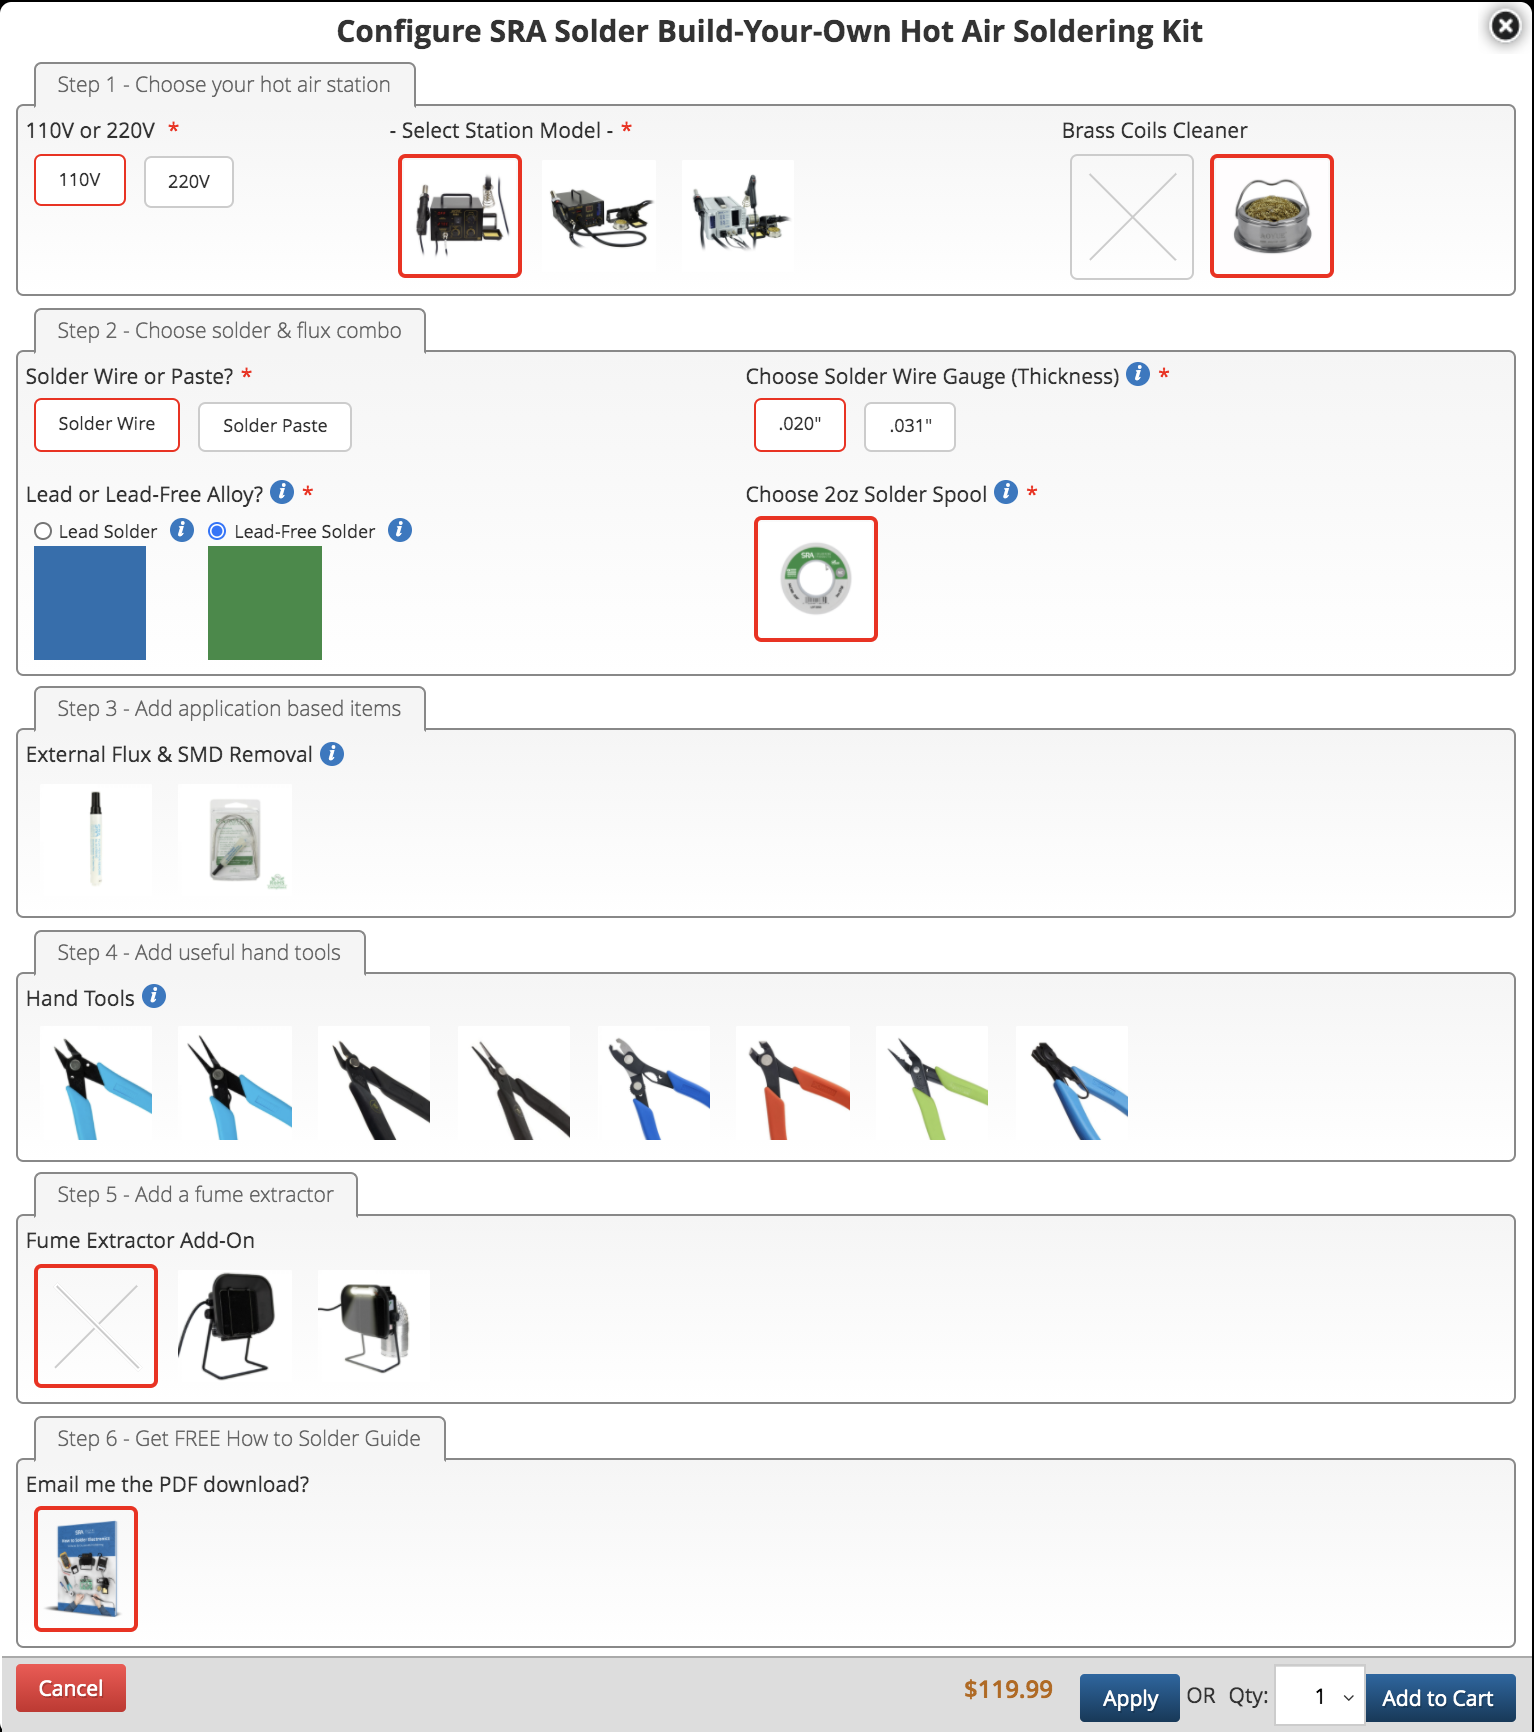
The image below shows the default options selected (outlined in RED). Hover over each option to see a description of the item. On mobile phones or tablets you will have to click once to see the description and twice to actually select the item.
The Kit Base
Every kit includes what we call the kit base. These are items that come with it regardless of any of the other choices made. For the Soldering Iron Kit, you get our SRA Tip Tinner, a pair of helping hands, and a desoldering braid / solder wick.
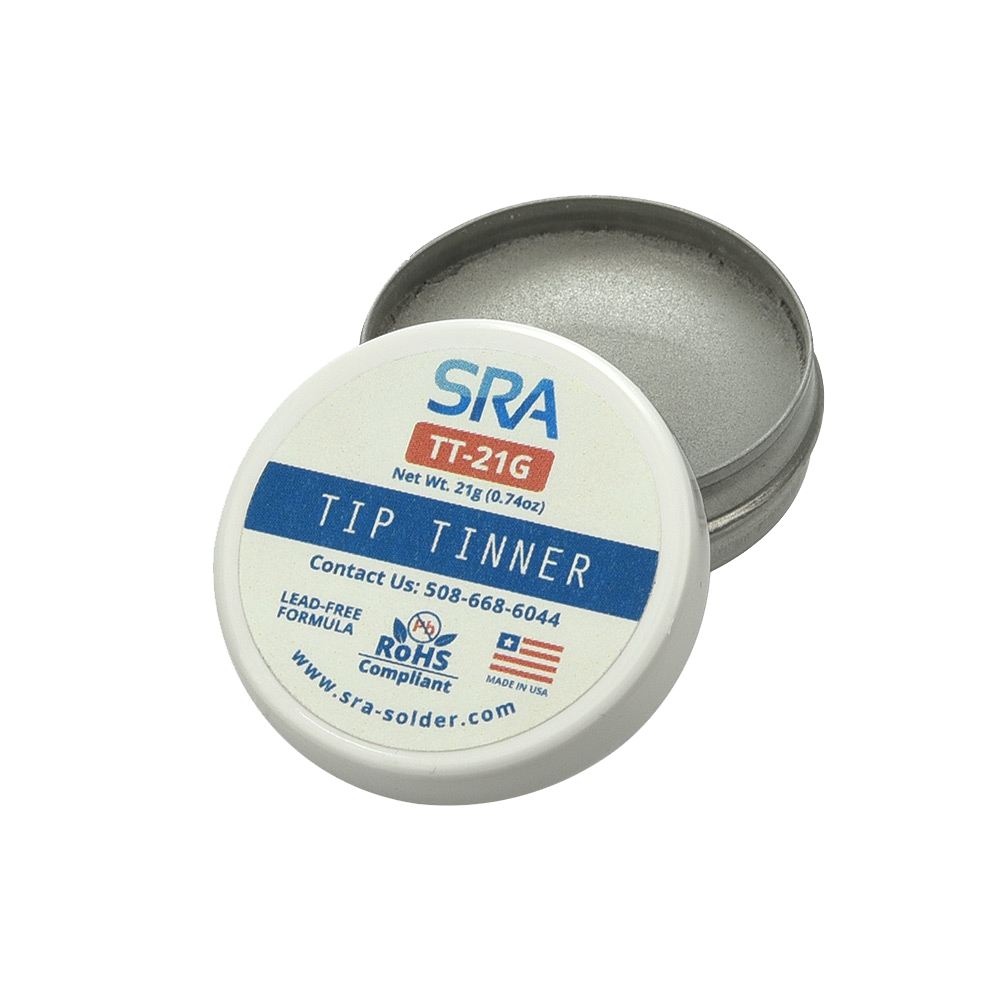
Tip Tinner
Tip tinner is a mixture of tin and oxide reducing compounds used to keep your iron tip shiny and ready to solder. Simply dip the tip into it to coat evenly after each use! It is a better alternative to tinning with solder wire because it does not contain the flux acids that corrode tips over time.
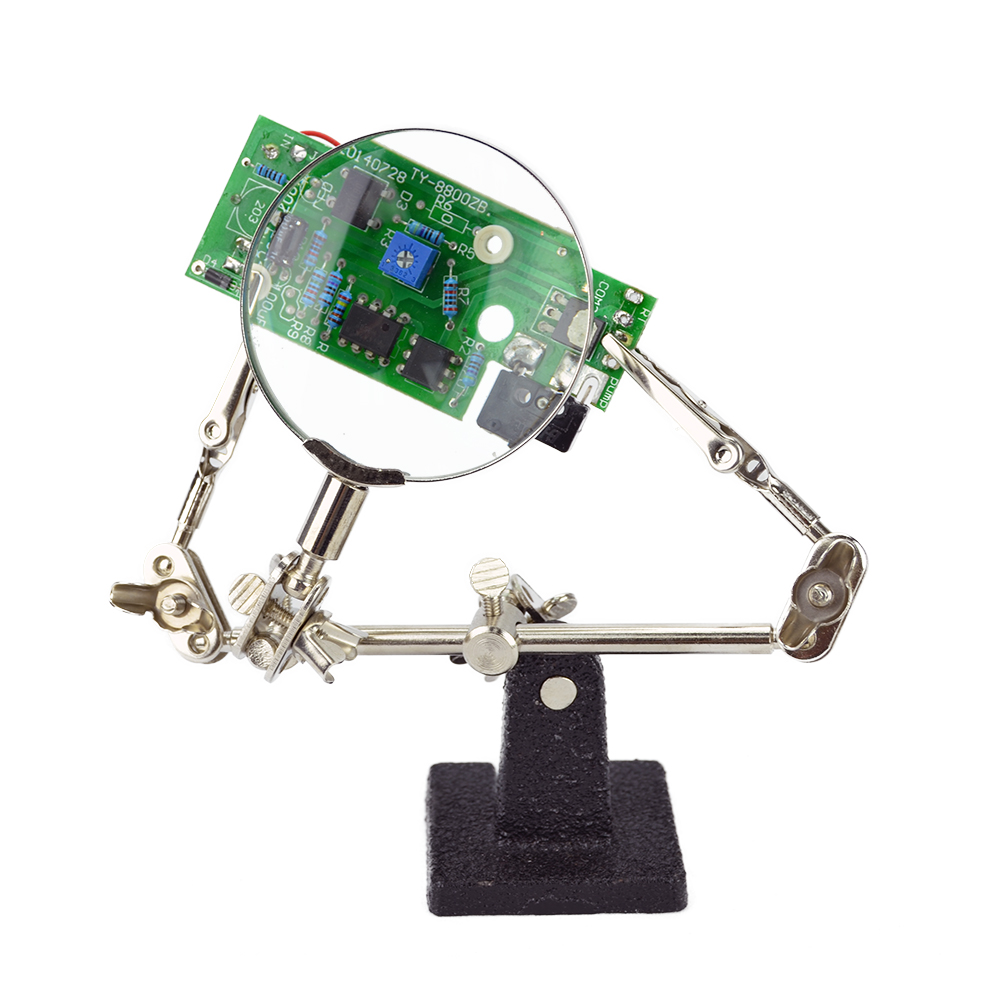
Helping / Third Hands
Helping hands are important to have because they keep your work from moving while soldering. Not only does movement make it difficult to heat the joint effectively, it can cause what’s called a cold or dry solder joint. This happens when the component moves while the molten solder is still solidifying thus forming a poor connection.
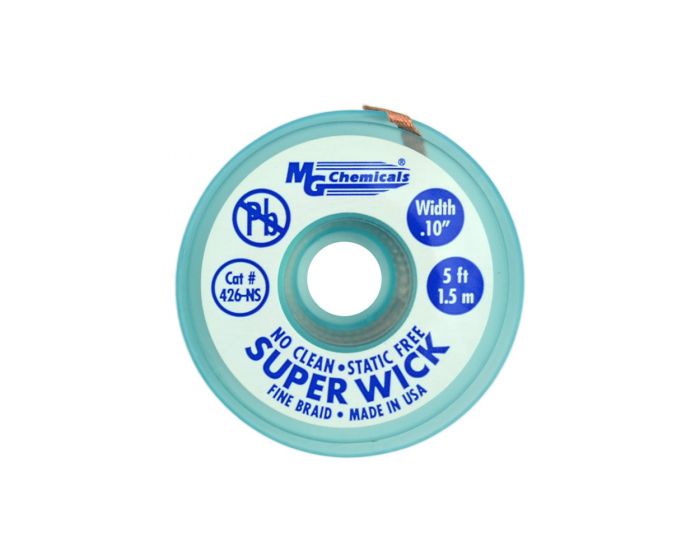
Desoldering Braid / Solder Wick
Last but not least, the desoldering braid or solder wick allows for removal of solder in tight and small spaces so you can easily replace an old component or fix a poor quality joint.
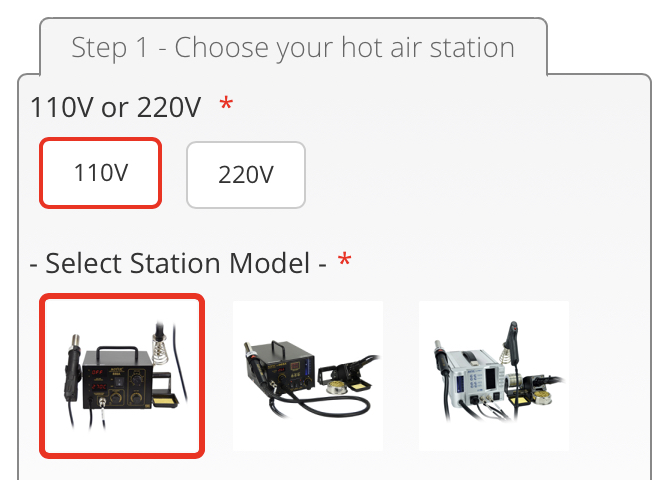
Step 1 – Choose your soldering station
Start by selecting the correct voltage for your country of use, 110V for USA or 220V for international. This will update the station options with available inventory. The default selection is the Aoyue 888A, which is an excellent combination soldering station with hot air but you do have the choice to upgrade to other models such as the 968A+ or all-in-one 2703A+ with iron, hot air, and desoldering gun.
You will also see the option to add-on a brass coil cleaner for your soldering iron unless the selected station already comes with one. Brass coils are a great alternative or addition to the standard wet sponge cleaning method.
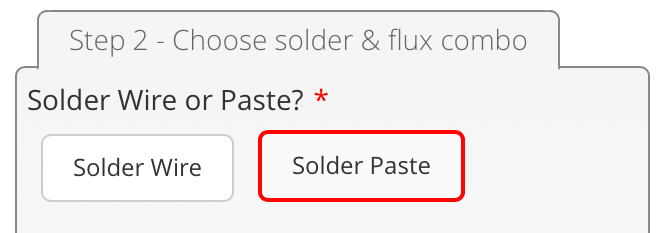
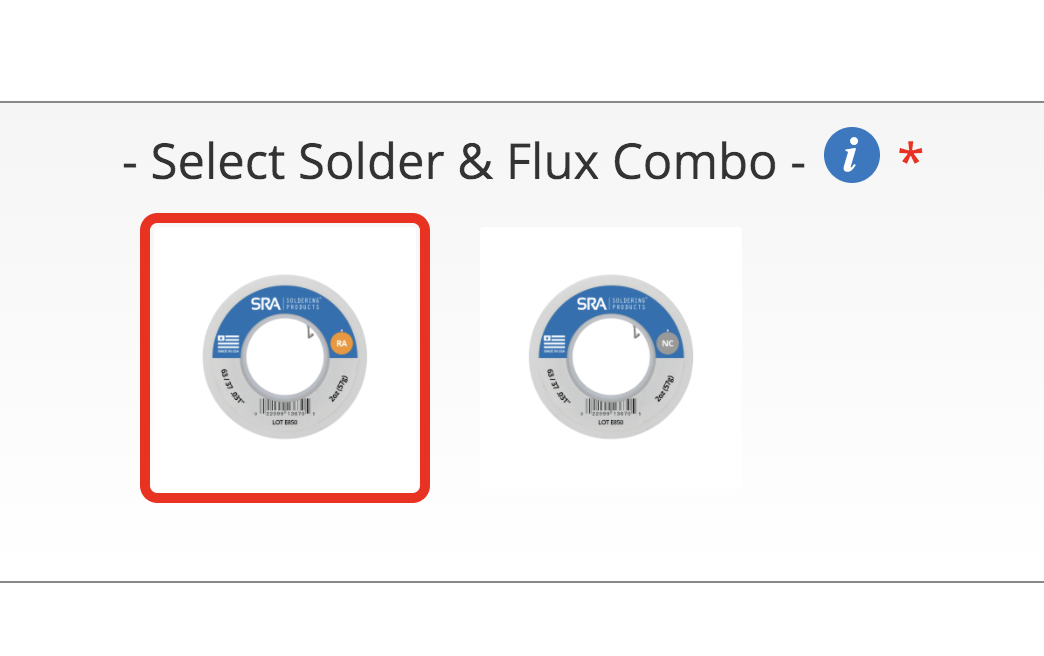
Step 2 - Choose solder & flux combo
The next step in building your kit is choosing the solder alloy and flux content of your 2oz spool of solder wire or 5cc syringe of solder paste. Don’t worry though, we have made this step as easy as possible!
First choose whether you would like solder wire or solder paste. For work with a soldering iron you will want wire but for hot air you will want to choose a paste.
Choosing a solder paste
Let's first go over the paste options you have in this kit. There are two lead-free options and one leaded paste option.
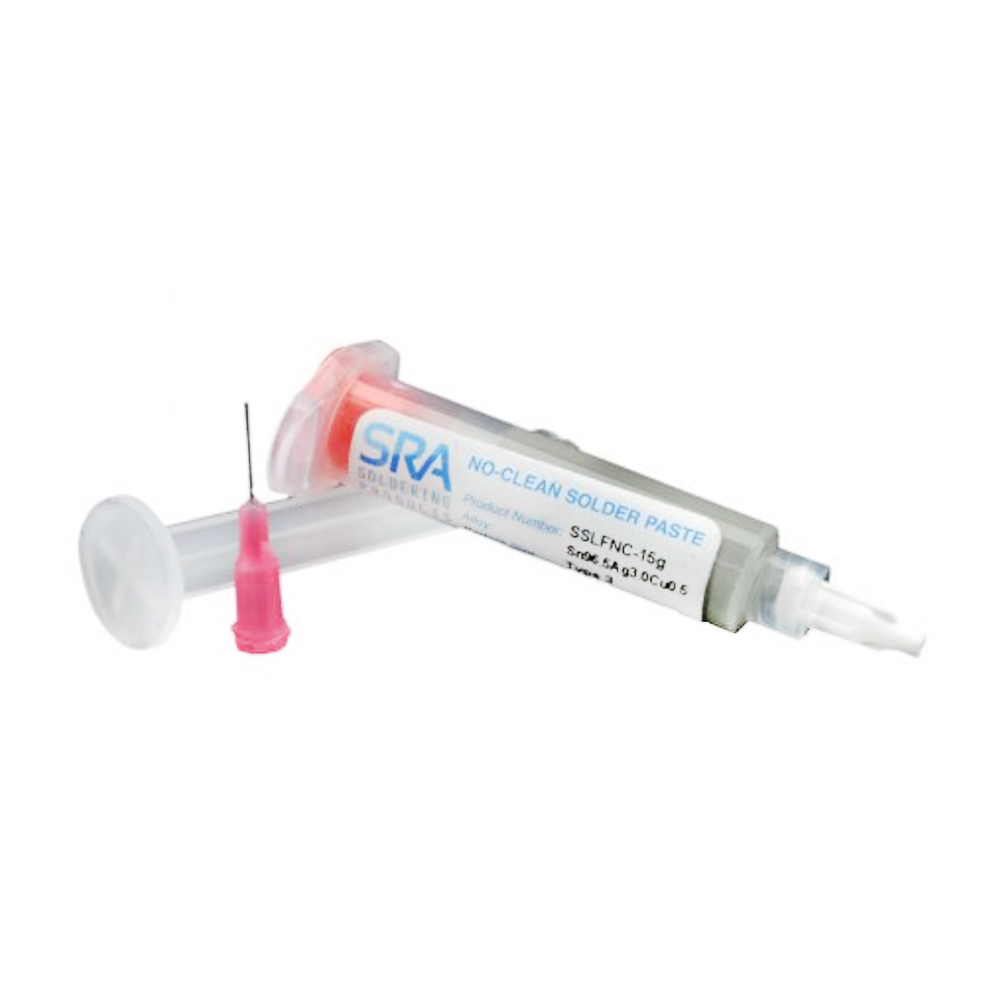
Leaded 63/37 No-Clean Solder Paste
This paste is halide-free, halogen-free yet active enough for a variety of PCBs and environments. The solder paste exhibits superior wetting characteristics, lot-to-lot consistency and stable viscosity.
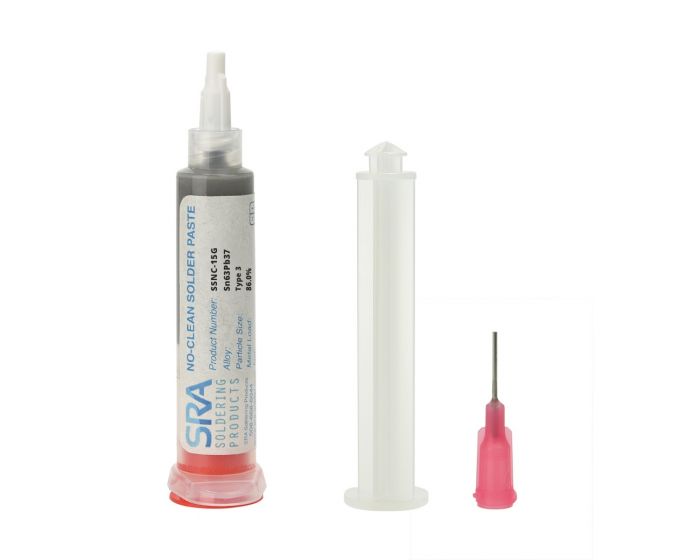
Lead-Free SAC305 No-Clean Solder Paste
5cc syringe w/ tip and plunger contains 15 grams
Particle Size T3 (25-45 Microns)
86% Metal
Melting Point 423-428°F(217-220°C)
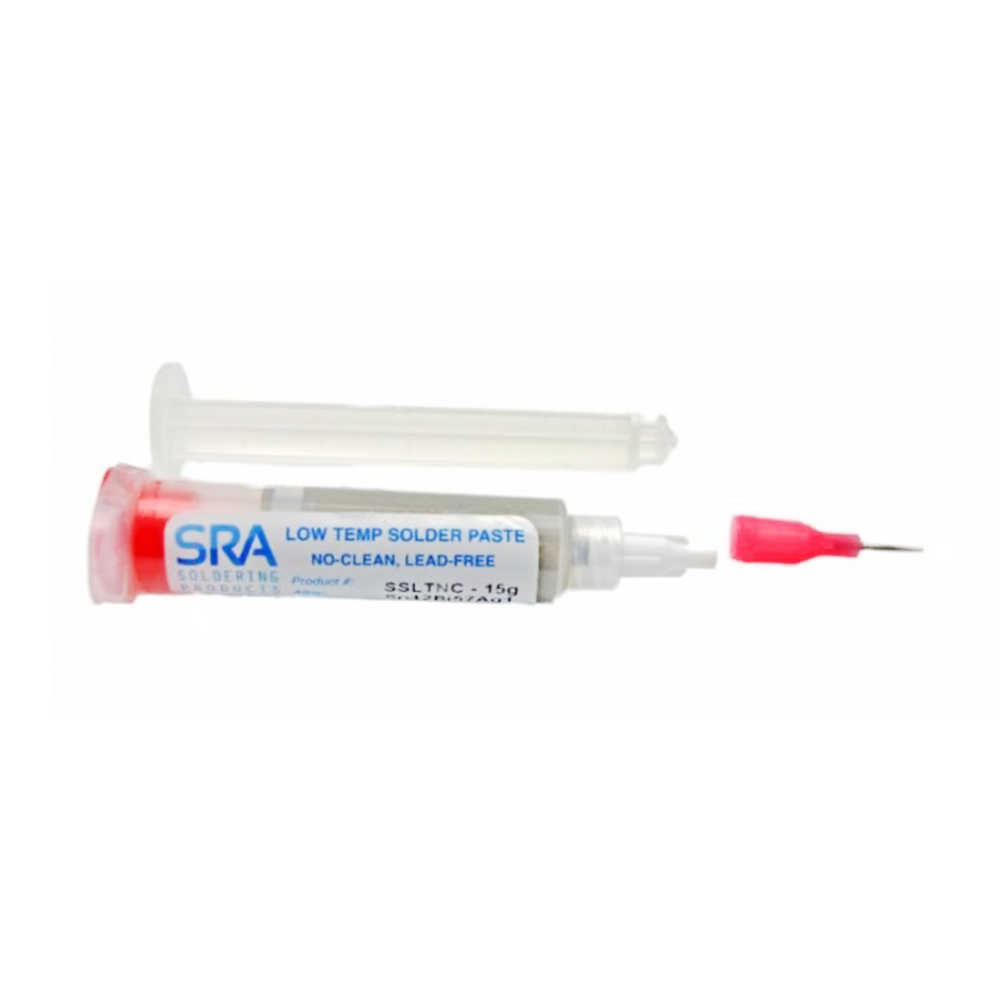
Lead-Free No-Clean Low Temp Solder Paste
Protect Sensitive Parts with this low melting Lead-Free Solder Sn42/Bi57/Ag. This alloy has an advantage over similar products on the market because the 1% Ag provides more strength and is less brittle than SN42/Bi58.
Melting Point 137 C 278 F (Eutectic)
5cc syringe w/ tip and plunger contains 15 grams
87% Metal
Particle Size T3 (25-45 Microns)
Important Notes for Paste:
Shelf Life of Paste
12 months, unrefrigerated > 6 months
Storage and Handling of Paste
Refrigerate at 3-8C (37-46F). Allow 4 hours for solder paste to reach an operating temperature of 20-25C (68-77F) before use.
Choosing a solder wire
The solder wire options are narrowed down to two different solder alloys and two different flux types that are proven to deliver excellent results.
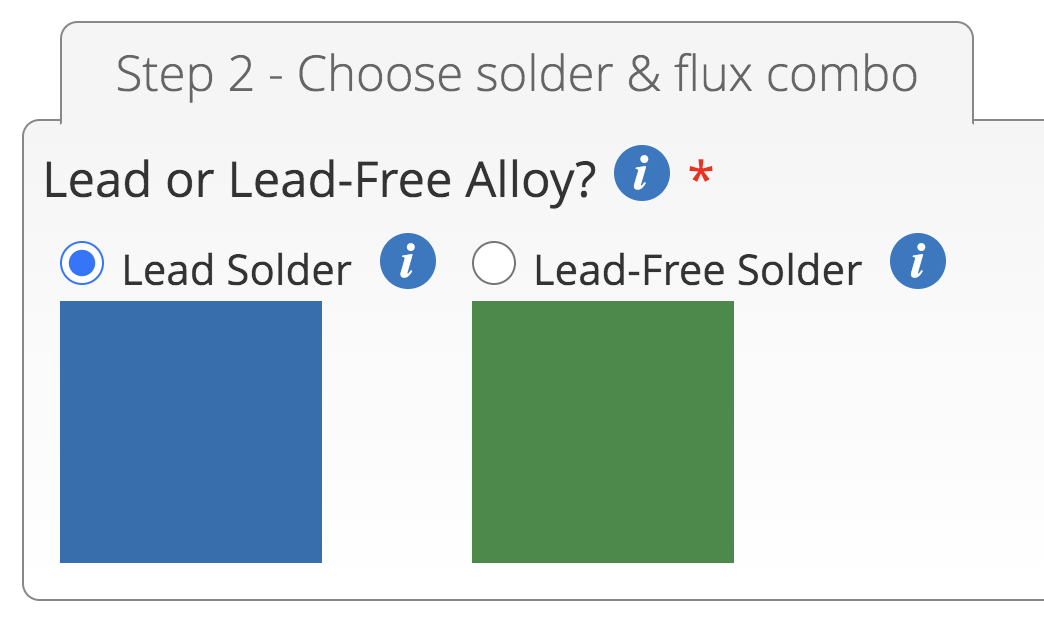
Choose Lead or Lead-Free
First select whether you would like to use a lead or lead-free alloy. As a rule of thumb, always match the alloy to the work you’re doing. Pre-1990s electronics used lead alloys such as 60/40 and 63/37, so if you’re working on vintage equipment, choose leaded which in this case is a 63/37 alloy. For new builds, it comes down to your preference and local regulations. Lead-free requires a bit more heat than the leaded alloys but it is better for the environment and safer. We have found the SAC305 lead-free alloy to have the best performance so that is what we include.
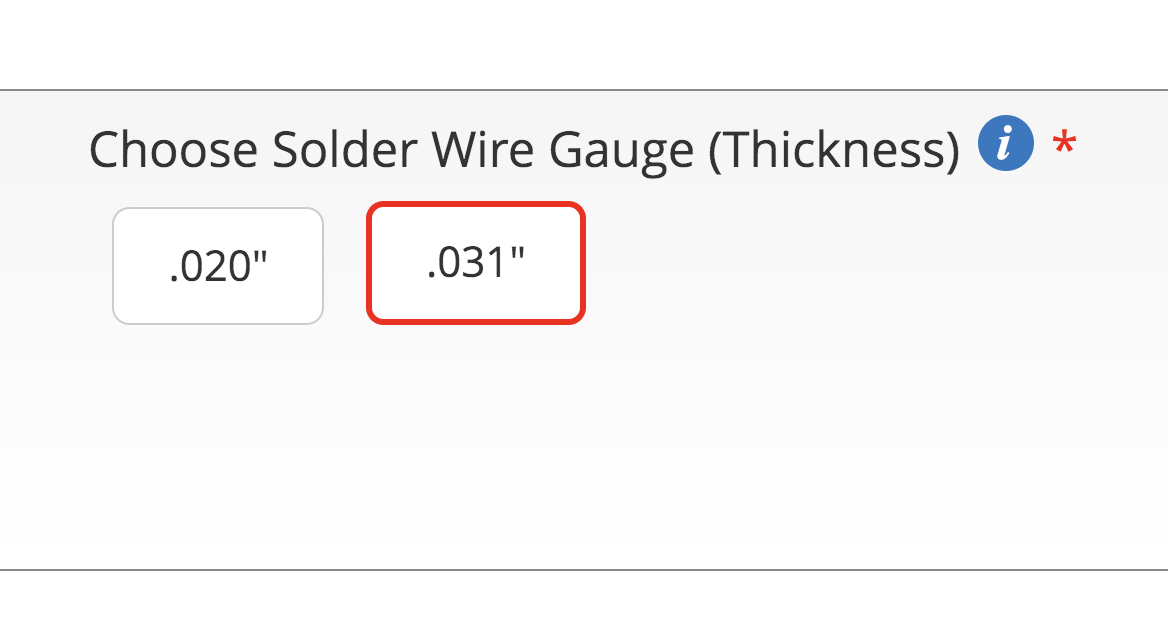
Choose Wire Thickness
Next choose the diameter of your solder wire. General purpose is going to be the larger .031” for wires and through-hole devices (THD) but if you find you’re soldering a lot of small components, consider going down to the thinner .020”. Especially if you’re considering doing a lot of surface-mount device (SMD) work.
Choose Flux Type
Now all you have to do is choose between Rosin or No-Clean flux. Similar to choosing an alloy, it comes down to matching what’s already there and then your preference. If you know what type of flux was used on your device, you can choose the same type. Rosin has been the mainstay of electronics and most widely used through the years. You can usually tell Rosin from the amber residue it leaves on the board. It this case, the residue will not cause any harm to the PCB other than its appearance. Some rosin can be highly activated and corrosive though and should be cleaned off after soldering. No-clean on the other hand is a newer formulation that as the name implies is designed to not have to be cleaned off the PCB. Its residues are minimal and much less noticeable than Rosin. To sum up, we recommend Rosin for older THD equipment and wires and either type for new builds.
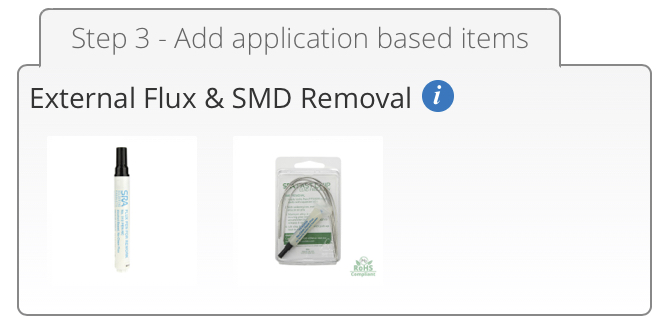
Step 3 - Add application based items
We could have stopped at the last step with our kit, but we wanted to give you even more options to help make your soldering tasks easier. Sometimes it helps to apply more flux than what’s available from the solder wire.
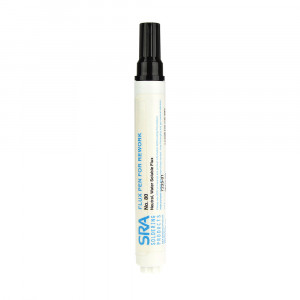
Liquid Flux Pens for PCBs
The second item we have in this section is our liquid flux pens. The correct matching flux type will already be selected based on your solder wire choice. These pens allow you to paint on additional flux exactly where you need it on the PCB or solder joint. Again, this ensures the solder flows where you need it to and speeds up the wetting process.
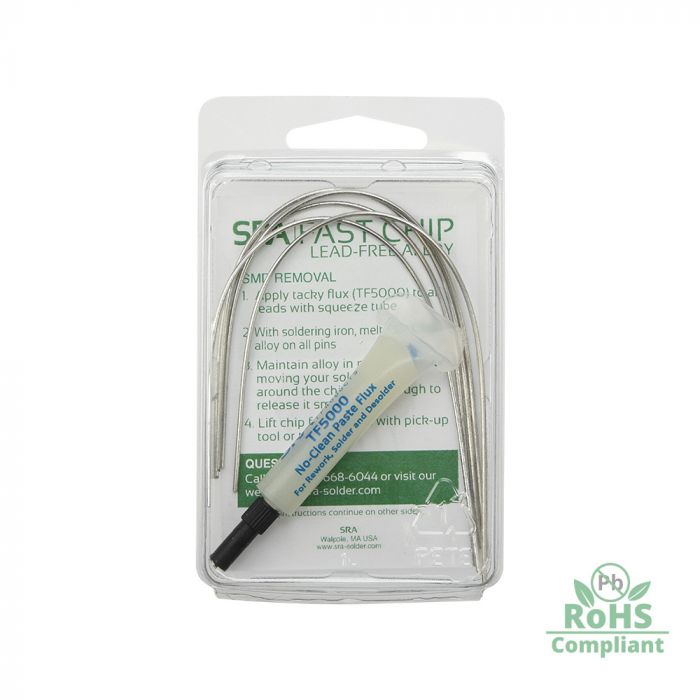
Fast Chip for SMD Removal
This last option is for those who would like to try their hand at SMD removal. It is essentially a small kit that includes a specialized tacky flux and low temp solder alloy designed for removal of IC chips and other SMD components. It makes it easy to keep the solder in a molten state so you can heat up all the pins and cleanly remove the part using a regular soldering iron.
Step 4 - Add useful hand tools
Now these aren’t soldering tools per say but they are needed before, during, and after different soldering operations. The three main ones are needle-nose pliers, flush cutters, and wire strippers. Necessary for preparing components for soldering and cutting the leads when your finished. The cutters and pliers are available with regular grips or electro-static discharge safe (ESD) grips depending on your needs. There are also a few more tool options for more specific applications.
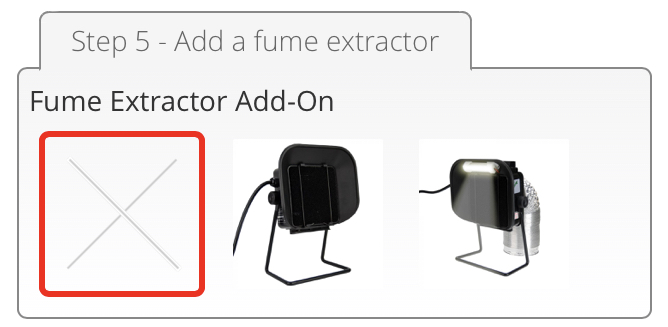
Step 5 - Add a fume extractor
When it comes to soldering, there are a few safety concerns that should be addressed. First, working with temperatures up to 840 F (449 C) introduces risk for burns and fire. Second, electronic devices present a risk of electrical shock. And finally, the soldering process itself produces fumes that are hazardous to breathe in. These fumes are caused by the flux being burned off but they DO NOT contain lead. To help redirect fumes away from your face, you have the option to add a fume extractor fan from Aoyue. The 486+ adds a 9V-battery powered light and a hose attachment to further direct fumes out a window or other opening.
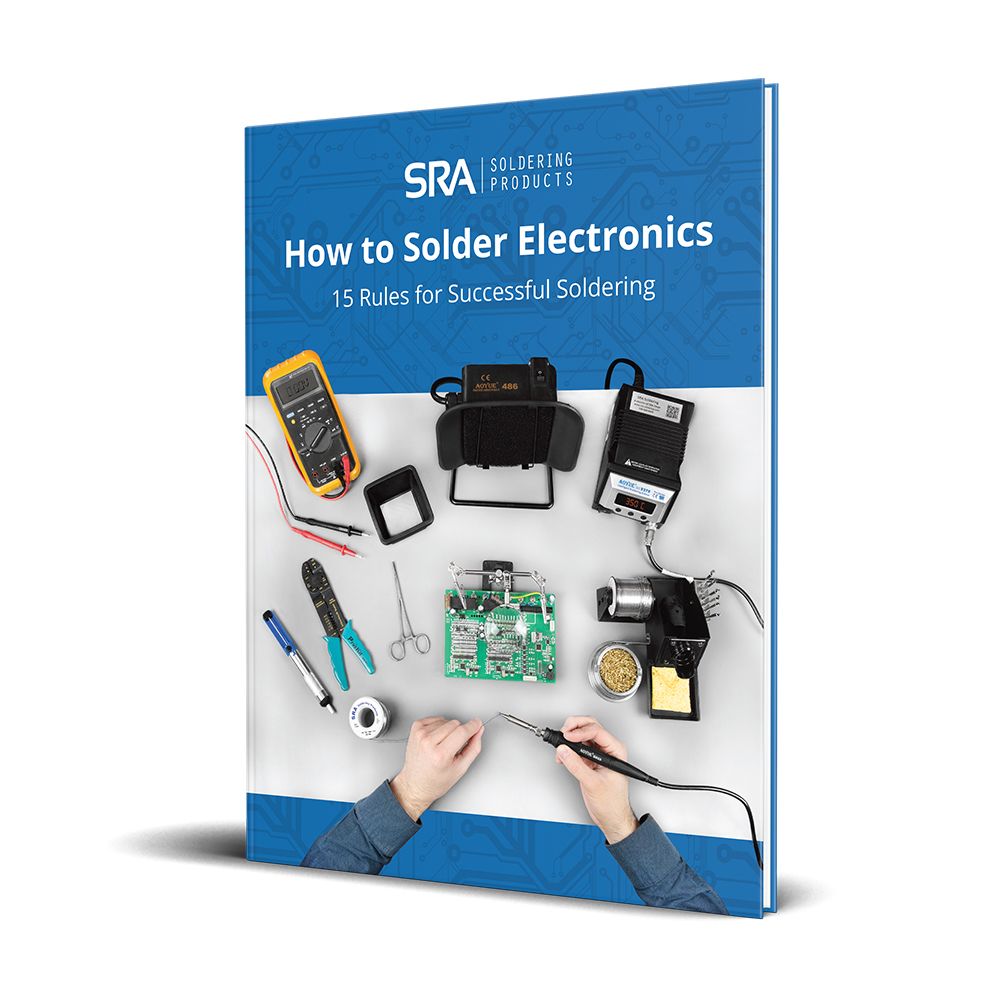
Step 6 – FREE How to Solder Electronics Guide
Once you have the right tools, the second part of the equation is knowing how to use them. Luckily, we have you covered here too with our FREE 70+ page guide on How to Solder Electronics that you can choose to add as a PDF download! We did all the tedious research for you, combining knowledge from a variety of industry sources with our nearly 60 years of soldering experience.
Wrapping Up
Again, thank you for your interest in our soldering kits. Here at SRA, we believe everyone can solder like a pro, and it is our mission to show you how easy and fun it can be! As always, if you have any questions, please reach out to us. We are here to support you through it all. Thank you!
Questions?
One of our solutions specialists would love to assist you. Please fill out the form and we will get in touch asap!